How to Use Git and GitHub for Version Control
How to Use Git and GitHub for Version Control

What Is Git?
Git is a free open source distributed version control system you can use to track changes in your files. You can work on all types of projects in Git, from small to large.
With Git, you can add changes to your code and then commit them (or save them) when you’re ready. This means you can also go back to changes you made before.
Git works hand in hand with GitHub – so what is GitHub?

What Is GitHub?
GitHub is a web interface where you store your Git repositories and track and manage your changes effectively. It gives access to the code to various developers working on the same project. You can make your own changes to a project at the same time as other developers are making theirs.
If you accidentally mess up some code in your project while making changes, you can easily go back to the previous stage where the mess has not occurred yet.
Why Use GitHub
There are so many reasons you should learn and use GitHub. Let’s look at a few of them now.
Effective Project Management
GitHub is a place where your Git repositories are stored. GitHub makes it easy for developers working on the same project but in different locations to be on the same page.
With GitHub, you can easily track and manage the changes you have made and check on the progress you’ve made in your project.
Easy Collaboration And Cooperation
With GitHub, developers from all over the world can work together on a project without having any problems.
Teams are able to stay on the same page while working on a project together and can easily organize and manage the project effectively.
Open Source
GitHub is a free and open source system. This means that developers can easily access different types of code/projects which they can use in learning and developing their skills.
Versatility
This attribute of GitHub is very important. GitHub is not a web interface for only developers. It can be used by designers, writers, and anyone who wants to keep track of the history of their projects.
How to Setup Git
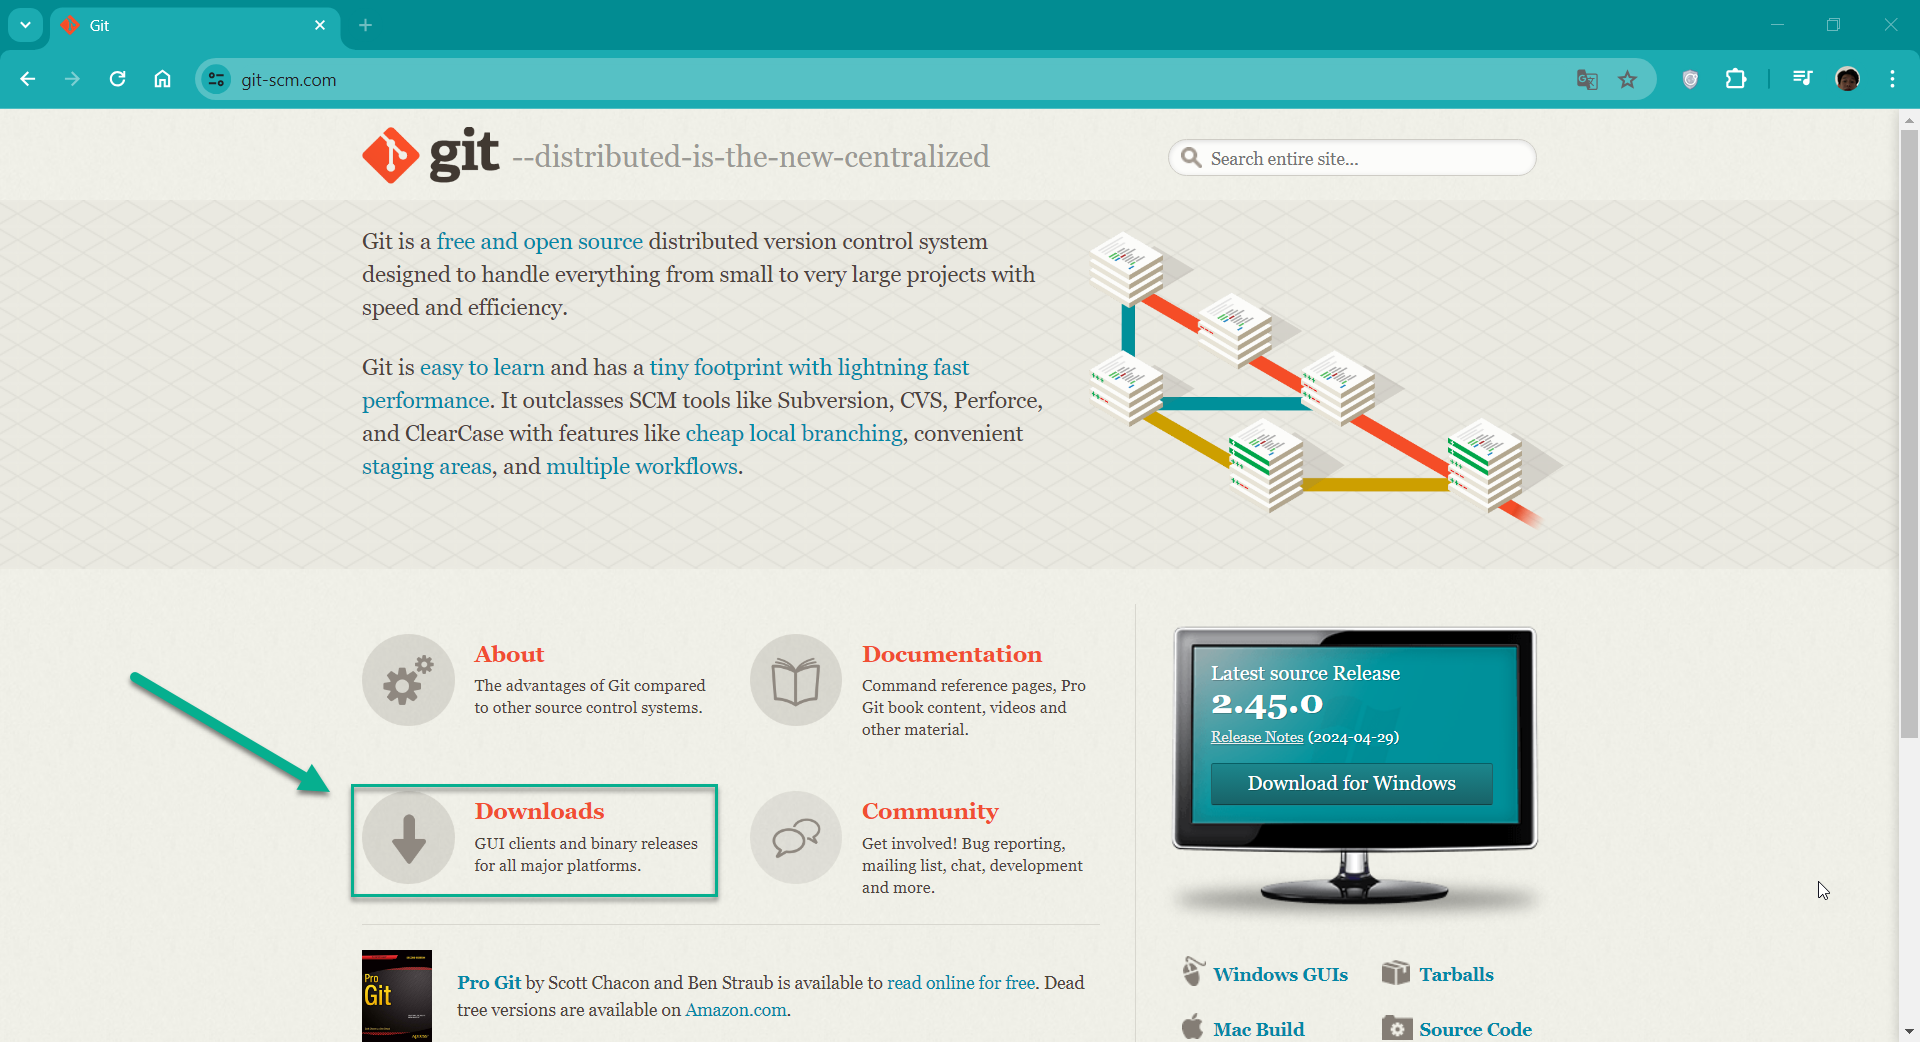
To start using Git, you’ll need to download it to your computer if you haven’t already. You can do this by going to their official website.
When Git opens, scroll down a bit and you should see a download button. Go ahead and click on it.
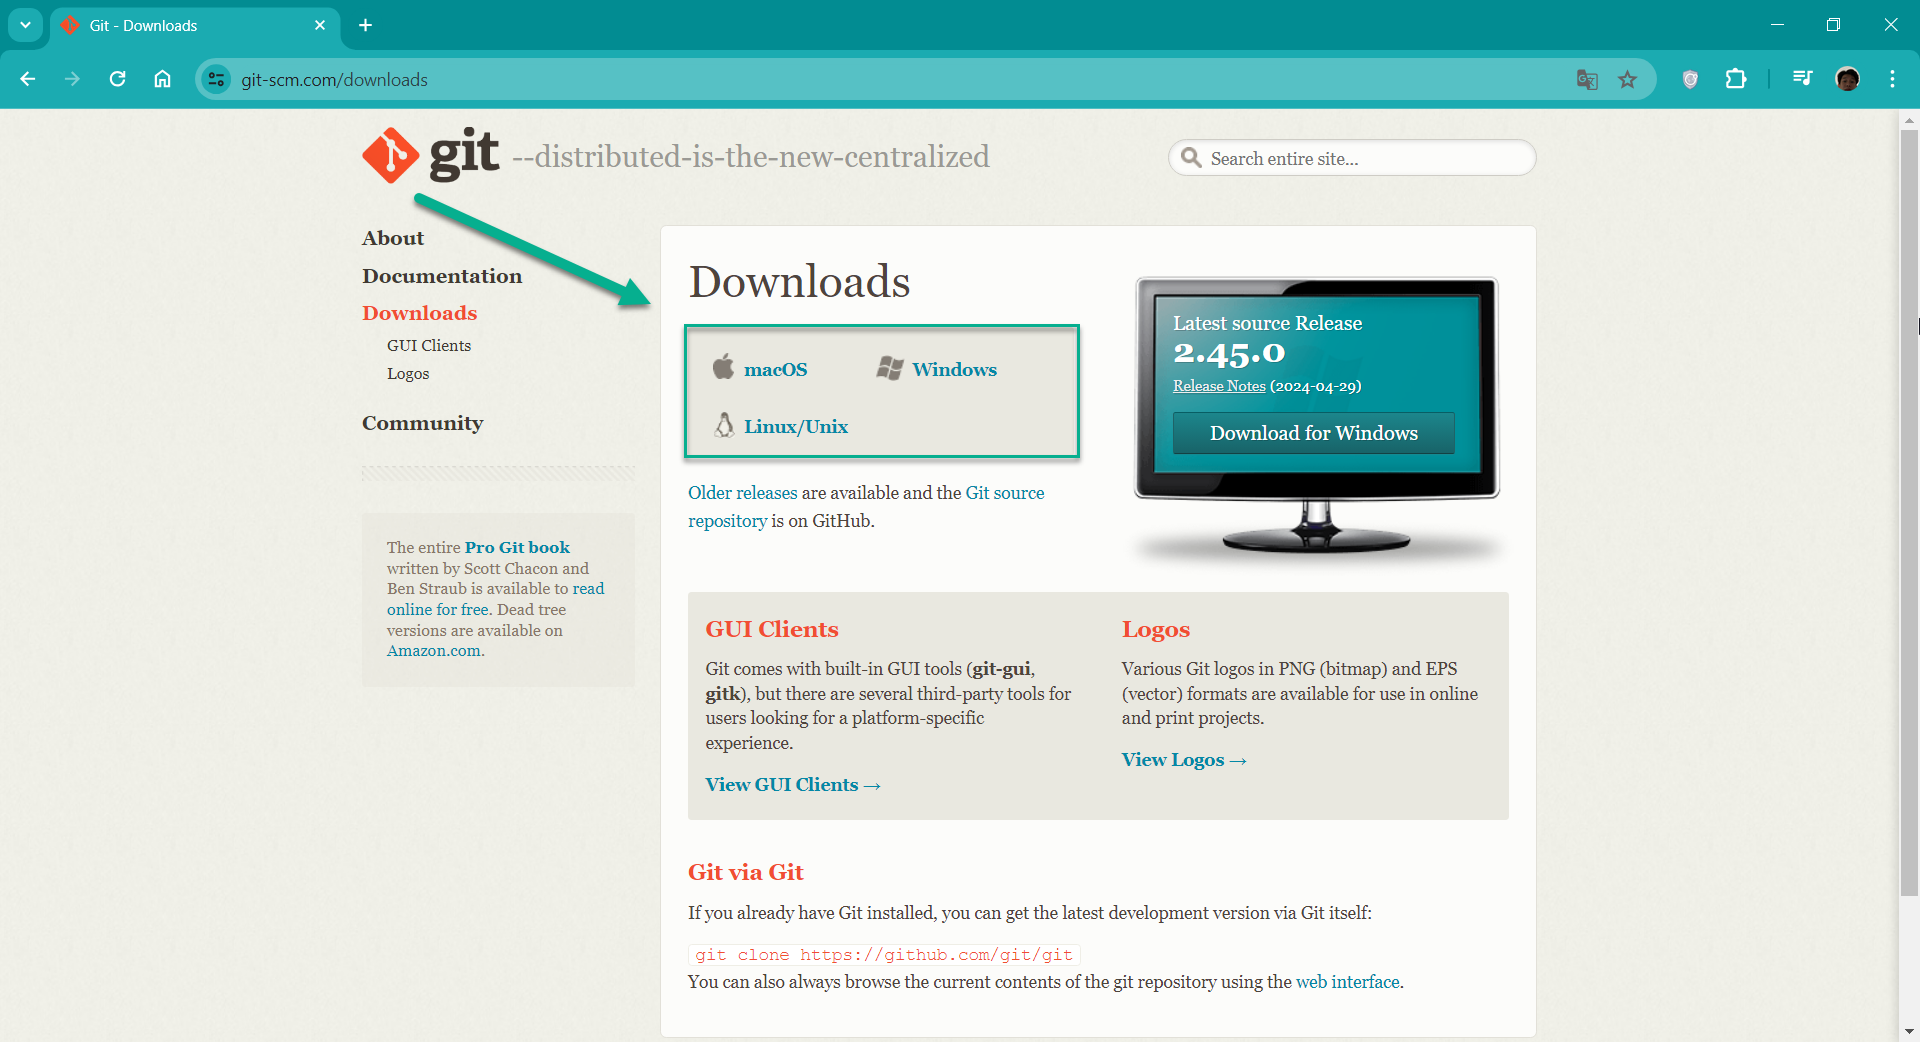
Choose your operating system whether it’s Windows, MacOS, Linux/Unix. In my case, I will be choosing the Windows option because I am using a Windows computer:
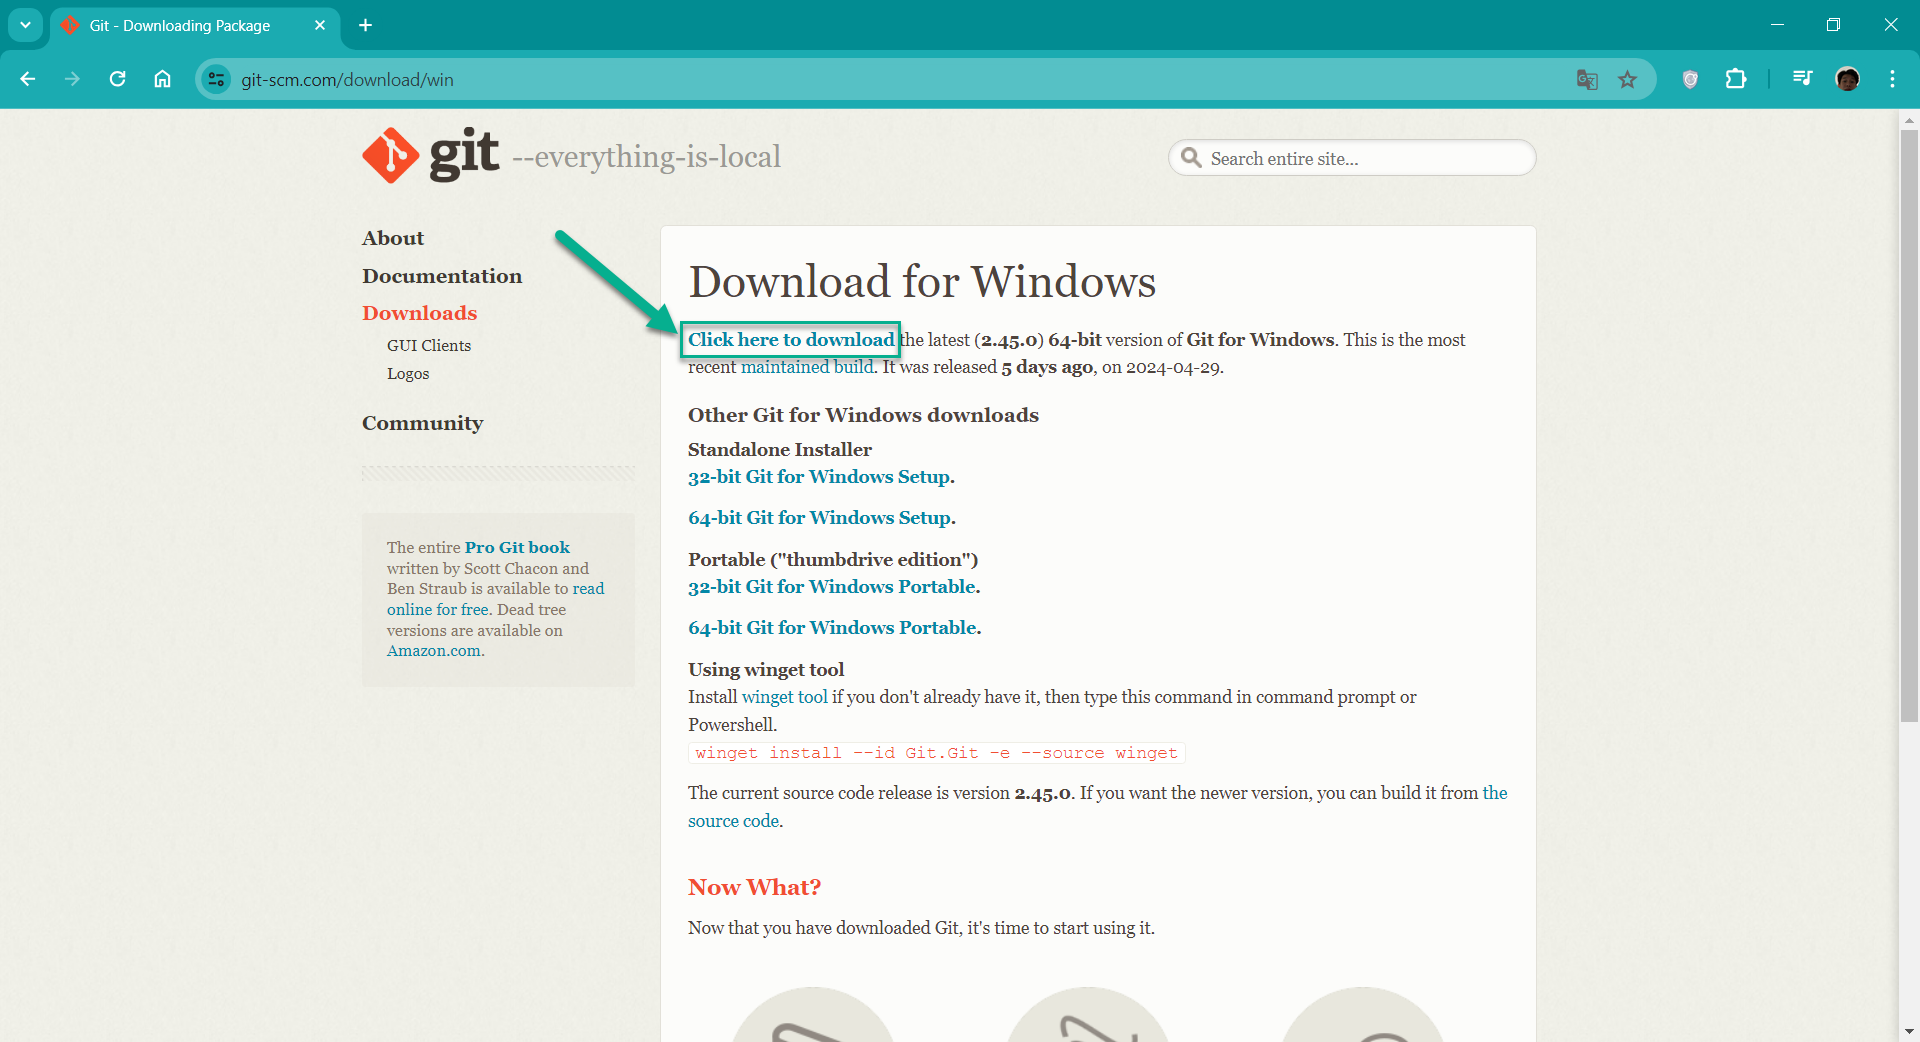
Click on the first link at the very top of the page to download the latest version of Git.
When the download is complete, then go ahead and install Git to your computer. You’ll need to go to the location where the file has been downloaded and install it.
After the installation, you’ll want to make sure that Git is successfully installed on your system. Open your command prompt or Git bash (whichever one you choose to use) and run the command:
git –version
If Git was successfully installed on your computer, it should display the current version of Git below the command you just ran. If the current version is being displayed, congratulations!
How to Configure Git
Now that we have installed Git on our computer, we have to configure it. We do this so that any time we are working in a team on a project, we can easily identify the commits we have made in the repository.
To configure Git, we need to specify the name, email address, and branch by using the git config --global command.
git config –global user.name “ [username]”
git config –global user.email
git config –global init.default branch main
For example:
git config –global user.name “Zini”
git config –global user.name zinisoft@gmail.com
git config –global init.default branch main
We used git config --global user.name to configure the username. In my case I used my name “Zini”. The same applies for the git config --global user.email
Git comes with a default branch of master, so I changed it to be called the main branch by using the git config --global init.default branch main command.
Now you’re ready to start using Git.
How to Setup Git Account
To start using Git, you’ll need to download it to your computer if you haven’t already. You can do this by going to their official website.
When Git opens, scroll down a bit and you should see a download button. Go ahead and click on it.

When the sign up form opens up, enter your email, create a password, enter your username, and then verify your account before clicking on the create account button.
Commonly Used Git Commands
There are some basic Git commands that every developer should know how to use:
git config
git init
git add
git commit
git clone
git push
git rm
Let’s go through each of these briefly so you know how to use them.
How to Use the git config Command
You use this command to set the username, email, and branch of a user so as to identify who made a commit when working on a project. This command is used when you have downloaded git into your computer and you want to customize it for your use.
For example:
git config –global user.name “ [username]”
git config –global user.email [email address]
git config --global user.name to configure the username. In my case I used my name “Zini”. The same applies for the git config --global user.email.
Git comes with a default branch of master, so I changed it to be called the main branch by using the git config --global init.default branch main command.
Now you’re ready to start using Git.
How to Use the git init Command
You use the git init command to start Git in your project. This git command is used when you are working on a project and would like to initialize git to the project in order to keep track of the changes made in the project.
For example:
git init
When you run this command, you should see a folder named .git being created automatically in the current folder you are working on.
How to Use the git add Command
This command adds your file to the staging area. The staging area is the area where files we make changes to are added and where they wait for the next commit.
To add a file to the staging area, you use the git add command. It adds all the files in the folder to the staging area.
git add (file name) adds the name of the particular file you want to commit in the staging area.
Use this command when you have made changes to a file and want to commit them to your project.
How to Use the git commit Command
This commits any file you added with the git add command as well as every file in the staging area.
For example:
git commit –m “first commit”
This command saves a file permanently to the Git repository. You use it whenever a file has been added to the staging area using the git add command.
How to Use the git clone Command
You use the git clone command to copy an existing repository in another location to the current location where you want it to be.
git clone (repository name)
You use this command when you want to duplicate a Git repository from GitHub into your local storage.
How to Use the git push Command
You use this command to upload/push files from the local repository/storage to another storage, like a remote storage such as GitHub.
For example:
git push (remote storage name)
You only use this command when you’re satisfied with the changes and commits you’ve made on a project and finally want to upload/push it to the Git repository in GitHub.
How to Use the git rm Command
You use this Git command to remove a file from a working repository. For example:
git rm (filename)
You use this command only when you wish to get rid of an unwanted changes/files from the Git repository.
How to Use the git branch Command
You use this command to check the current branch you are working on, either main or master. For example:
git branch
This command helps you know the current branch you are working on.

